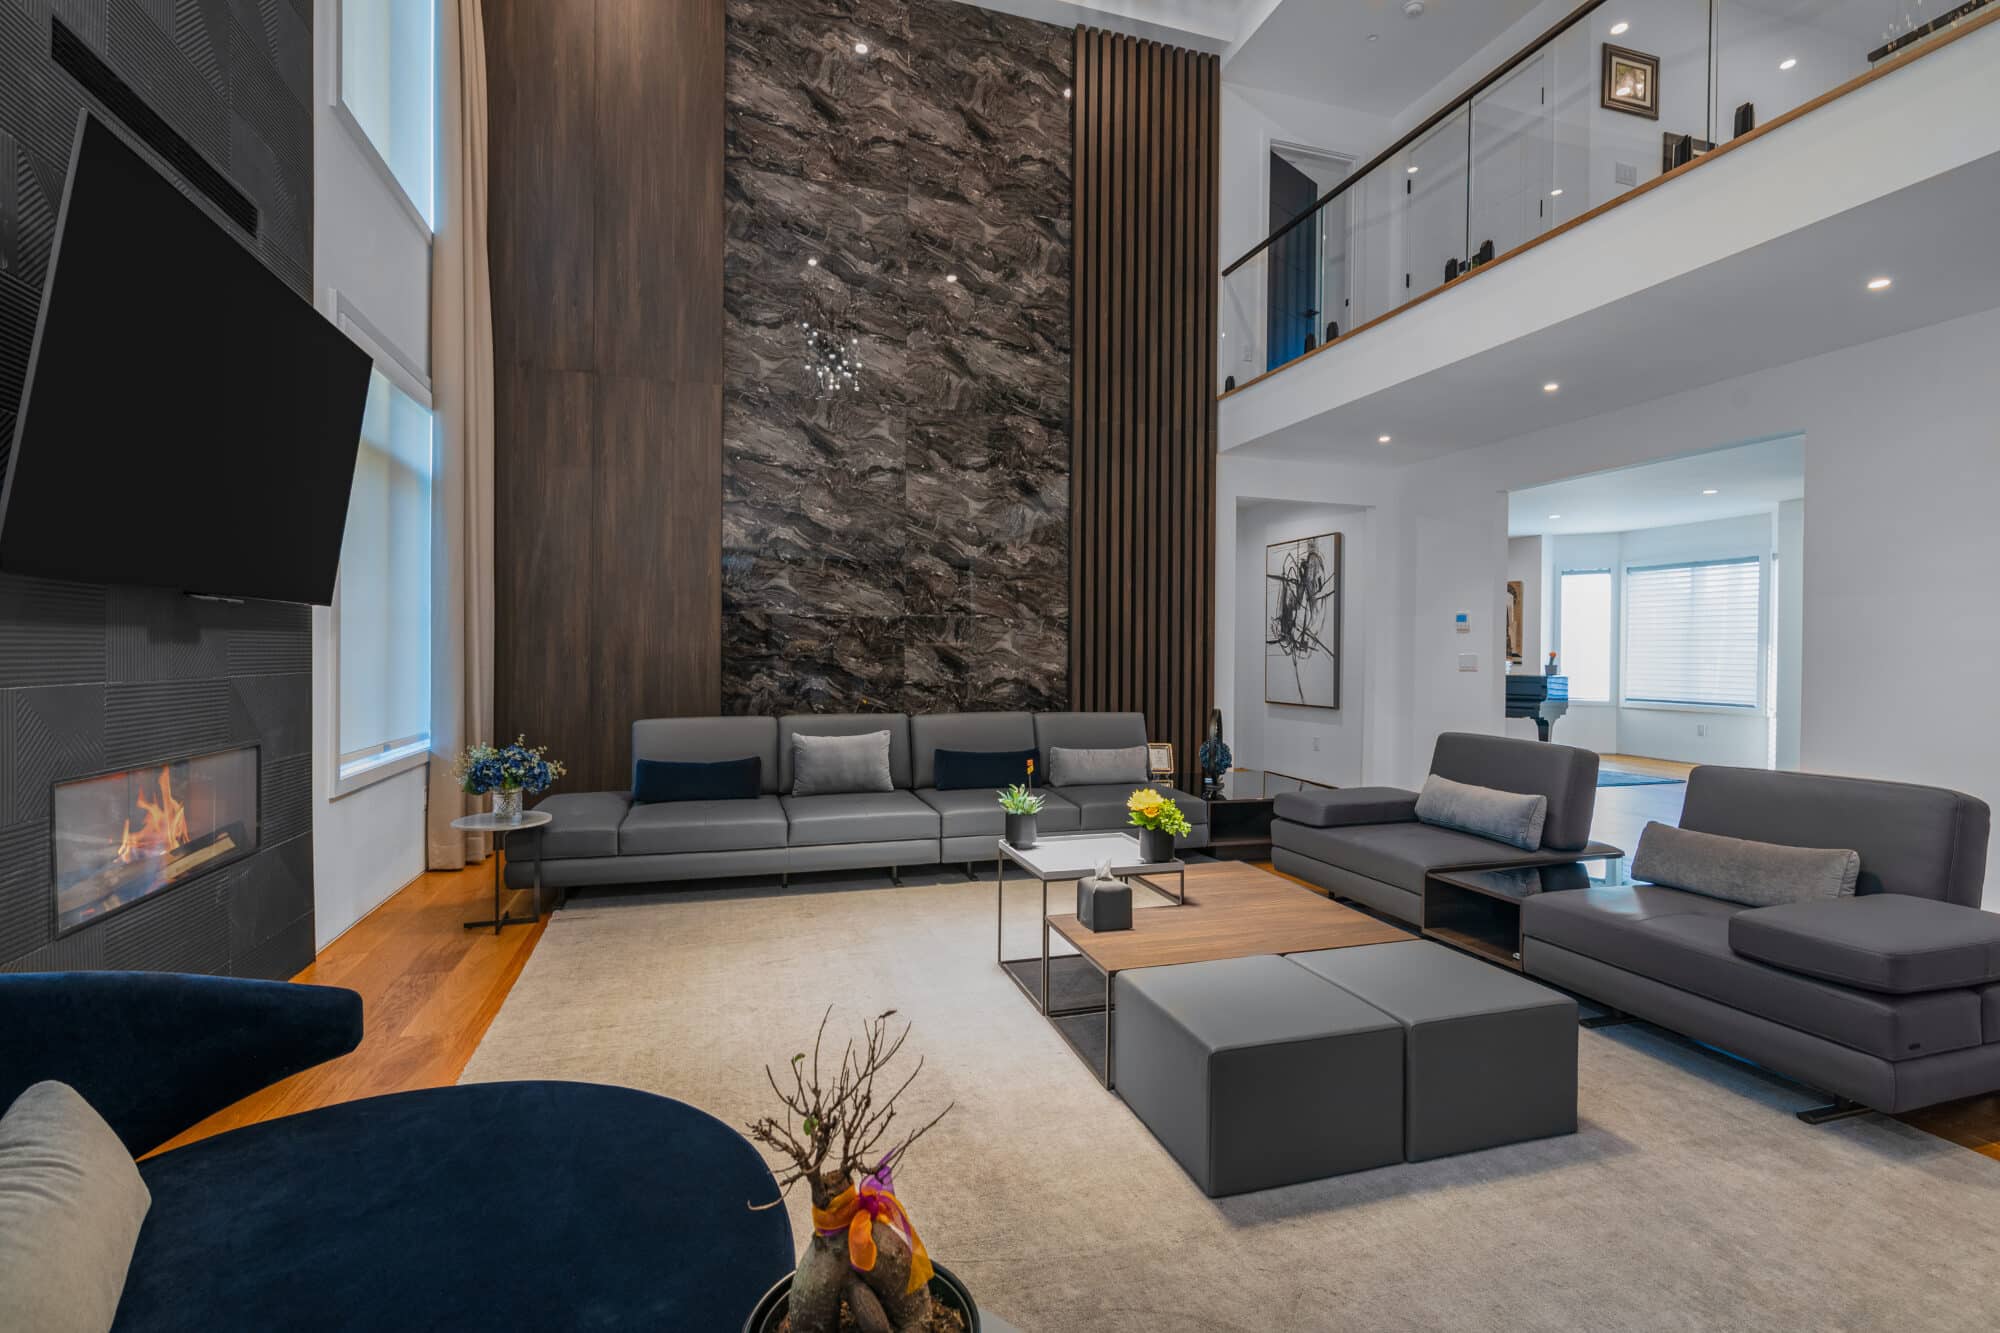
Preparing your home for real estate photography is crucial in creating a strong first impression and attracting potential buyers. High-quality photos can make your property stand out in a crowded online marketplace. Here’s a detailed pre-shoot checklist to ensure your home is photogenic and inviting.
1. General Preparation
- Declutter Every Room: Remove unnecessary items from countertops, tables, and floors. Clutter can distract from the features of the home and make spaces appear smaller.
- Deep Clean: A spotless home photographs beautifully. Pay special attention to windows, mirrors, floors, and surfaces. Consider professional cleaning for carpets.
- Neutralize Personal Decor: Potential buyers should be able to envision themselves in the space, so pack away personal photos, memorabilia, and distinctive decorations.
- Repair Minor Issues: Fix noticeable defects like dripping faucets, peeling paint, or cracked tiles. These small details can be emphasized in photos.
2. Lighting
- Maximize Natural Light: Open all curtains and blinds. Schedule the photoshoot during the day when your home receives the most natural light.
- Replace Burned-Out Light Bulbs: Ensure all light fixtures work and match their color temperature for a consistent look in your photos.
- Turn On All Lights: During the shoot, turn on all the lights to create a welcoming and warm atmosphere.
3. Enhance Curb Appeal
- Groom Exterior Spaces: Mow the lawn, trim bushes, and clean up leaves. A manicured landscape significantly boosts curb appeal.
- Declutter the Yard: Remove any extraneous items like hoses, toys, and garden tools. Ensure garbage bins are out of sight.
4. Focus on Key Areas
Kitchen:
- Clear Countertops: Leave only a few decorative items, like a vase or a bowl of fruit. Clean appliances and ensure they shine.
Bathrooms:
- Minimize Products: Remove all personal items from countertops and showers. Only leave minimal decorative items.
- Display Fresh Towels: Neatly hang new or clean towels for a spa-like look.
Bedrooms:
- Make Beds: Use neutral bedding and nicely fluff pillows. Ensure the bed looks inviting and comfortable.
- Minimize Furniture: Keep only essential pieces to show off the room’s space and functionality.
5. Final Touches
- Check the Weather: If possible, schedule the shoot on a bright, clear day. Overcast days can also provide good lighting conditions without harsh shadows.
- Create a Checklist: Walk through each room with a critical eye or ask a friend to help. Note anything that looks out of place or could be improved.
- Provide Access to All Areas: Ensure the photographer has access to all spaces, including community amenities if applicable.
Day of the Shoot
On the day of the photoshoot:
- Do a Quick Clean: Sweep floors, wipe surfaces, and ensure everything is in its place.
- Secure Pets: Arrange for pets to be out of the house or securely contained.
- Leave the Home: It’s often best if homeowners are not present during the shoot to allow the photographer to work efficiently and effectively.
By meticulously preparing your home for real estate photography, you not only ensure your listing photos are attractive but also help potential buyers easily imagine themselves living in the space. This emotional connection can be crucial in motivating offers and achieving a successful sale.
What types of properties do you photograph?
We specialize in photographing a wide range of properties, including single-family homes, multifamily units, commercial spaces, offices, retail locations, and industrial properties. No matter the size or style, we can capture the essence of your property.
How long does it take to photograph a listing?
It typically takes 1-2 hours to properly photograph a real estate listing, including setup and shooting
What services do you offer?
Interior and exterior Photography
360 Virtual Tours
Aerial Drone Photography
Google Live View Integration
Twilight and Night Photography
Floor Plan Creation
Video Walkthroughs
Virtual staging
What is the turnaround time for receiving the photos?
Typically, we deliver your edited photos within 24 hours of the shoot. However, the exact turnaround time may vary depending on the project size and specific requirements.
What are your pricing and packages?
Our pricing varies depending on the type of property and services required. Please visit our Pricing Page or contact us directly for detailed information on our packages and rates.

